

Have you ever considered owning an online store? Offering amazing products to the world? Put an end to technical jargon—Shopify makes it simpler than ever! Consider it your own online empire builder.
With Shopify, millions of individuals (more than 4.5 million businesses) have already realized their ambitions and sold an astounding $812 billion worth of goods. That is a large number of satisfied clients (and prosperous business owners).
From choosing the ideal design for your business to streamlining the checkout process, this step-by-step guide will take you through every step of the process. By the time it’s all through, your polished web store will be ready to draw attention and convert clicks into sales.
Come on, let’s do this.
Step-by-Step Guide to Setting Up Your First Shopify Store
The process of starting your own online business may be exciting and Shopify’s user-friendly platform makes it simple. In this detailed guide, we’ll walk you through the process of setting up your first Shopify store, from start to finish. By the end, you’ll have a fully functioning e-commerce store ready to attract customers and generate sales.
- Register for a Trial Offer
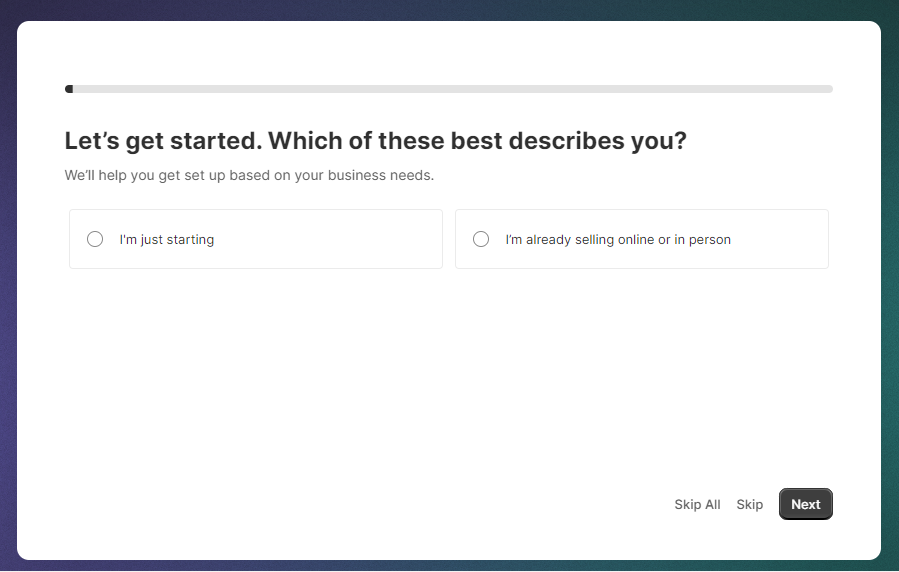
Enrolling in a free trial is the first step towards setting up your Shopify store. You may test out Shopify’s services for free for 3 days without having to commit. Go to the “Start free trial” button on the Shopify website. To get started, enter your email address and then answer some basic questions.
- Establish Your Specialization: Make sure to specify your target market as well as the goods and services you want to provide. The identity of your store will be shaped by this.
- Select a Catchy Name: Take a look at the domain generator provided by Shopify for ideas. Organize a custom domain name to give your shop a polished appearance. You may link an existing domain or purchase one straight from the admin panel using Shopify.

- Choose a Shopify Plan: After setting up your free trial, select a Shopify plan based on your requirements. Shopify provides several plans, each with varying features and costs. The Basic Shopify plan is usually plenty for new users, but you may always increase as your company expands.
- Access the Admin Screen: Once you’ve chosen your Shopify plan, the admin panel will appear. You can handle every aspect of your online business from the admin interface, which serves as your control center.
- Create an Online Store Design
- Select and Customize Your Theme for Shopify: The look of your shop is quite important in drawing in clients. Many themes are available on Shopify, both for free and for a fee. Changing your theme may be done by navigating to the admin panel, choosing “Online Store,” and then “Themes.” Look through the Shopify themes that are offered and choose one that complements your business. Make changes to the layout, fonts, and colors of your theme to make it more recognizable for your company. You may select the “Debut” theme and personalize it with your brand’s colors and logo for a contemporary, minimalist design.
West and East was one of the projects for which we created a custom e-commerce solution.

- Tailor Your Subject: Change the layout, colour scheme, and typefaces to give your business a unique look. Make sure the layout embodies your business identity and is easy for users to navigate.
- Make the Important Pages: Create vital pages for your consumers to access, such as About Us, Contact Us, Shipping and Returns, and Privacy Policy.
- Add Items to Your Product List
- Add Your Products: It’s time to start adding goods to your online store. Navigate to the admin panel, choose “Products,” and then select “Add product.” Enter the product’s details, such as the title, description, cost, and pictures. Employ relevant keywords to raise your profile in searches
- Arrange the Products: To improve navigation and the user experience, create product groups and categories.
- Manage Inventory: Keep a close eye on your stock levels to prevent overstocking or stockouts. You can maintain organization with the use of Shopify’s inventory management features.
For example, if you offer handcrafted jewelry, make categories such as “Earrings,” “Necklaces,” and “Bracelets.” Emphasize the materials, workmanship, and distinctive selling features in the product descriptions.
- Set Up Payment and Shipping
A vital aspect of any online shop is shipping. You may configure shipping rates depending on location, price, or weight under the shipping options. You may also use computed prices from shipping companies like FedEx or USPS, or you can provide free shipping.
For instance, you may set up calculated prices for overseas shipping to guarantee that your clients will be charged exact shipping fees.
- Establish Shipping Charges: Based on the item’s weight, size, or location, calculate the shipping charges. To draw clients, think about providing free delivery on orders over a particular threshold.
- Including Payment Gateway Integration: To enable safe transactions, use reputable payment methods like PayPal, Stripe, or Amazon Pay.
- Configure Tax Settings: Using your location and the relevant tax regulations as a guide, accurately compute and collect taxes. Shopify can assist you with calculating taxes. Configure tax rates in the settings according to the regions you ship to and your location. Shopify makes managing it easier by automating tax calculations, which are essential for both client pleasure and compliance.
You can link with third-party shipping carriers or utilize Shopify’s built-in shipping options for calculated shipping prices.
- Simplify the Checkout Process
- Simplify Checkout: Make sure the procedure is safe and easy to use. Cut down on the processes required to complete a transaction.
- Allow Guests to Checkout: For convenience, let consumers make purchases without registering for an account.
- Incorporate Quick Checkout: To expedite the process, integrate it with expedited checkout choices like Google Pay and Apple Pay.

- Adjust Store Parameters
- Customize Domain: To give your Shopify store a professional look, link your custom domain name to it.
- Set Up Favicon and Logo: To improve brand awareness, include a favicon and logo.
- Configure Notifications: Establish email alerts for customer inquiries, shipment updates, and order confirmations. Notifications keep you and your customers informed about orders, shipping, and other important updates. In the settings, configure email and SMS notifications for various events, such as order confirmation and shipping updates.
- Test Your Online Store
Make sure your store is fully tested before launching it. To make sure everything functions properly, including adding goods to the checkout and making payments, place a test order.
- Product Pages: Verify the accuracy and completeness of all the information provided.
- Checkout Procedure: To find any problems, go through the checkout procedure like a consumer.
- Mobile Responsiveness: Examine the look and feel of your shop across a range of gadgets.
This assists in finding and resolving any problems before launch.

- Launch Your Store and Promote It
- Go Live: Allow customers to visit your online store.
- Develop Your Identity: Create a powerful brand identity by using unified imagery and message.
- Make the Most of Social Media: Use sites like Facebook, Instagram, and Pinterest to promote your products.
- Put SEO Into Practice: For your online store to receive natural traffic, search engine optimization, or SEO, is essential. Navigate to the admin panel, choose “Online Store,” and then “Preferences.” For your homepage, you may choose keywords, descriptions, and meta titles here. Additionally, add relevant keywords to the product information on specific product pages to optimize them.
- Provide Top-Notch Customer Support: Gain respect and allegiance by offering first-rate customer service.
Hire Shopify experts if you need assistance with any part of setting up your store. They may help make sure your shop is successful by helping with design, development, marketing, and other things.
Imagine that we take care of the technical details while you concentrate on producing amazing products. We can:
- Create a fresh Shopify storefront.
- Create a gorgeous store that perfectly captures your essence.
- To draw in more clients, optimize your store for search engine optimization (SEO).
- Take care of inventory management and product uploads.
You can spend more time doing the things you love and less time worrying about technical problems when Diiglite is on your side.
Ready to take the next step? Contact us today.


